Blog
Plough Point Replacement Complete Guide for Farmers & Equipment Operators
When it comes to reliable tillage performance, selecting and fitting durable plough point replacement parts directly shapes your field efficiency, fuel consumption, and long-term operating costs.
Tillage industry surveys show that roughly 34% of premature plough point failures stem from improper installation, mismatched part numbers, and reused fatigued fasteners, rather than raw material quality.
Choosing a well-cast, heat-treated replacement plough point and following standard replacement procedures protects your investment and keeps your plough working consistently season after season.
1. Prioritize Safety Before Starting Plough Point Replacement Work
Never rely only on tractor hydraulics to support the plough assembly while servicing. Rest the implement firmly on solid ground or dedicated support stands to eliminate the risk of sudden hydraulic drift.
All operators should wear cut-resistant work gloves and safety goggles, as cast plough points and mounting edges remain sharp even after heavy field use.
Remove debris around the connection area slowly; packed soil and crop residue can hide cracked brackets or stretched mounting holes that require repair alongside your new plough point replacement.
2. Clean, Inspect, and Assess Associated Wear Parts
Before removing fasteners, fully clear mud, rock dust, and plant material from the joint between the plough point, share, and mouldboard.
This simple step reveals hidden wear patterns and prevents grit from damaging threads during reassembly. While the plough point is removed, inspect the mouldboard, share, and mounting lugs. If mating surfaces are deeply grooved or distorted, even a brand-new plough point will not sit flush, creating gaps that accelerate wear.
| Wear Component | Typical Service Life (Loam Soil) | Inspection Trigger for Replacement |
|---|---|---|
| Cast Plough Point | 80–140 operating hours | >12 mm tip wear, chipping, bending |
| Plough Share | 220–350 operating hours | Worn seating shoulder, deformed bolt holes |
| Mouldboard | 600–1200 operating hours | Deep scoring, cracking, loss of smooth profile |
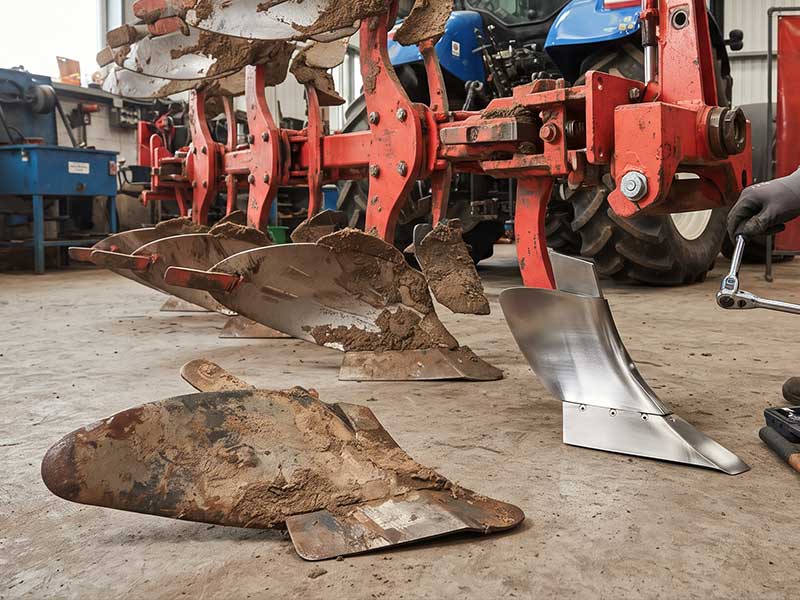
3. Correct Removal, Fastener Care and Reassembly
Use properly sized sockets or ratchets to avoid rounding bolt heads. Heavily corroded fasteners respond well to penetrating oil before torque is applied.Our field data indicates that reusing old, rust-stretched bolts increases loose-part failure risk by over 40%.
For every plough point replacement, we recommend installing new grade 8 fasteners whenever possible. Align the new casting fully against the machined seating face, confirm zero side play, then tighten to the manufacturer’s specified torque value. Uneven or under-torqued fittings are one of the top reasons plough points shake loose mid-tillage.
| Fastener Size | Recommended Torque | Replacement Guidance |
|---|---|---|
| M12 plough bolt | 65–72 N·m | Replace if threads are pitted or stretched |
| M14 plough bolt | 90–100 N·m | Replace after two plough point service cycles |
| M16 plough bolt | 130–145 N·m | Mandatory replacement after bolt bending |
4. Verify Part Fit, Material Grade and Casting Quality
Not all aftermarket plough points deliver the same performance. Our cast plough point replacement inventory uses boron steel and 42CrMo alloy with controlled heat treatment, balancing hardness and impact toughness for rocky, clay, and sandy fields.
Every casting undergoes magnetic particle inspection to catch hidden internal flaws before shipment. A mismatched plough point changes the cutting angle, increases draft pull, and raises fuel burn noticeably. Always cross-reference OEM part numbers, mould profile, bolt spacing, and tip geometry before ordering replacement castings.
| Material Grade | Surface Hardness | Best Application |
|---|---|---|
| Boron Steel Cast Plough Point | 42–48 HRC | Sandy, abrasive soil, high acreage farms |
| 42CrMo Alloy Cast Plough Point | 46–52 HRC | Mixed rock, heavy clay, rough tillage |
| Standard Cast Iron Plough Point | 28–34 HRC | Light loam, low-intensity seasonal use |
5. Final Tightness Check and Post-Installation Test Run
Once all fasteners reach target torque, complete a second visual pass to confirm full contact between the casting and mounting seat. Run the plough at low speed for the first 10–15 minutes of field work, then recheck bolt tightness. New cast parts can settle slightly under load, and this quick retorque extends the usable life of your plough point replacement significantly.
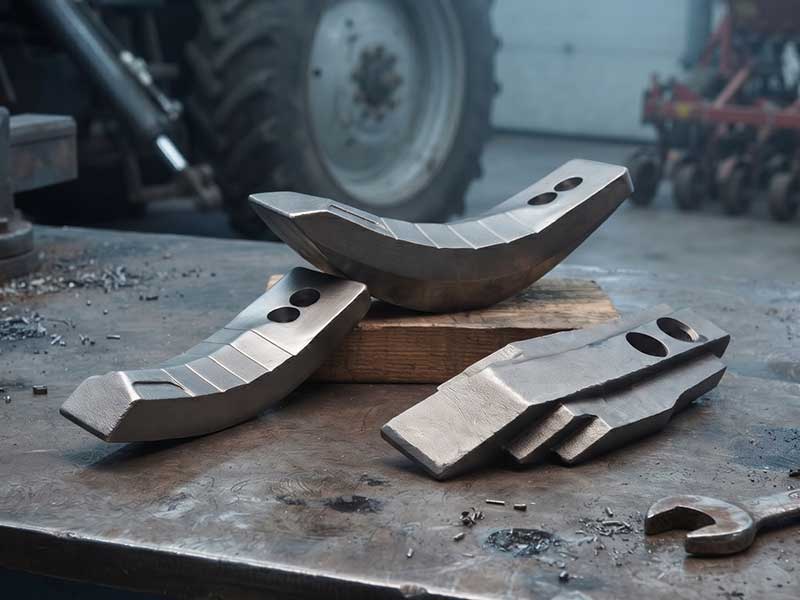
If you are a farm equipment dealer, importer, or large farming operation sourcing consistent, high-volume plough point replacement castings, Lihuacasting manufactures OEM and aftermarket cast plough points with strict metallurgical control.
Our factory supports custom casting drawings, batch inspection reports, and container shipments to global agricultural markets. We design each plough casting to hold its cutting edge longer, reduce downtime, and help your customers cut down on repeat part purchases.
Reach out to our sales team to request material certificates, sample plough point castings, and bulk pricing for your next seasonal order of plough point replacement components.
RELATED NEWS
- Why Does Plough Point Hardness Matter? 2026-11-12
- How to Choose the Right Sickle Sections for Combine Mower and Swather Headers? 2026-11-05
- Heavy-Duty Disc Harrows vs. Light-Duty Disc Harrows 2026-11-03
- How to Choose the Right Subsoiler Shank for Your Implement? 2026-10-29
- Disc Harrow Guide: Adjustment, Maintenance, Troubleshooting & Working Width Sele 2026-10-28
CATEGORIES
LATEST NEWS
CONTACT US
Contact: Susanna Sun
Phone: +86 13706842897
E-mail: sue-sunwin@vip.163.com ; sophie091983@gmail.com
Whatsapp:+86 13706842897
Add: 1588 Jiangnan Road Ningbo High-tech Industry zone